Bank Communication
External Payments
Sending of external payments
External payment files can be sent to the bank(s) in two ways, either via External Payments or via Upload File. The main difference between the two methods is that on the External Payments page, a follow-up is possible and the payments status reports are automatically retrieved upon sending.
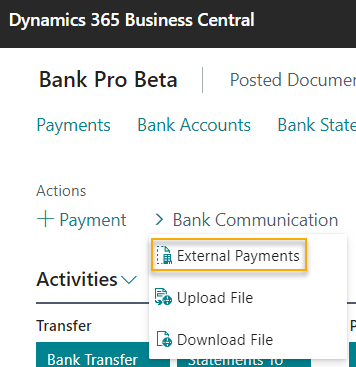
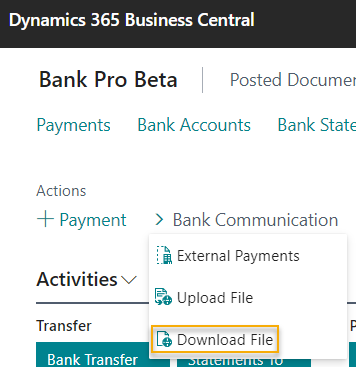
To send an external payment file, select External Payments from the Bank Communication menu.
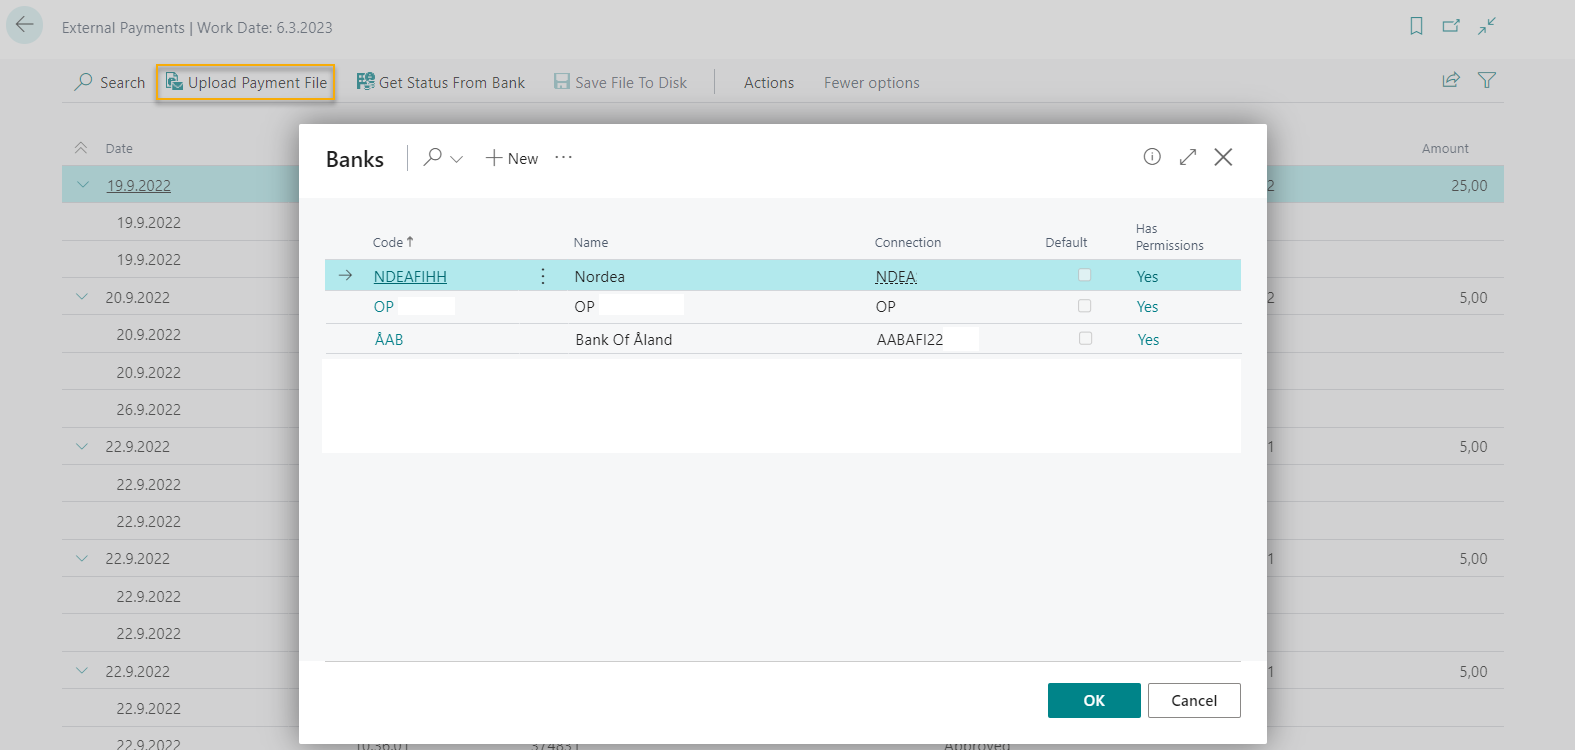
Click Upload Payment File, select Bank and click OK.
Continue by clicking Choose to select a payment file and select the file that you want to send to the bank.
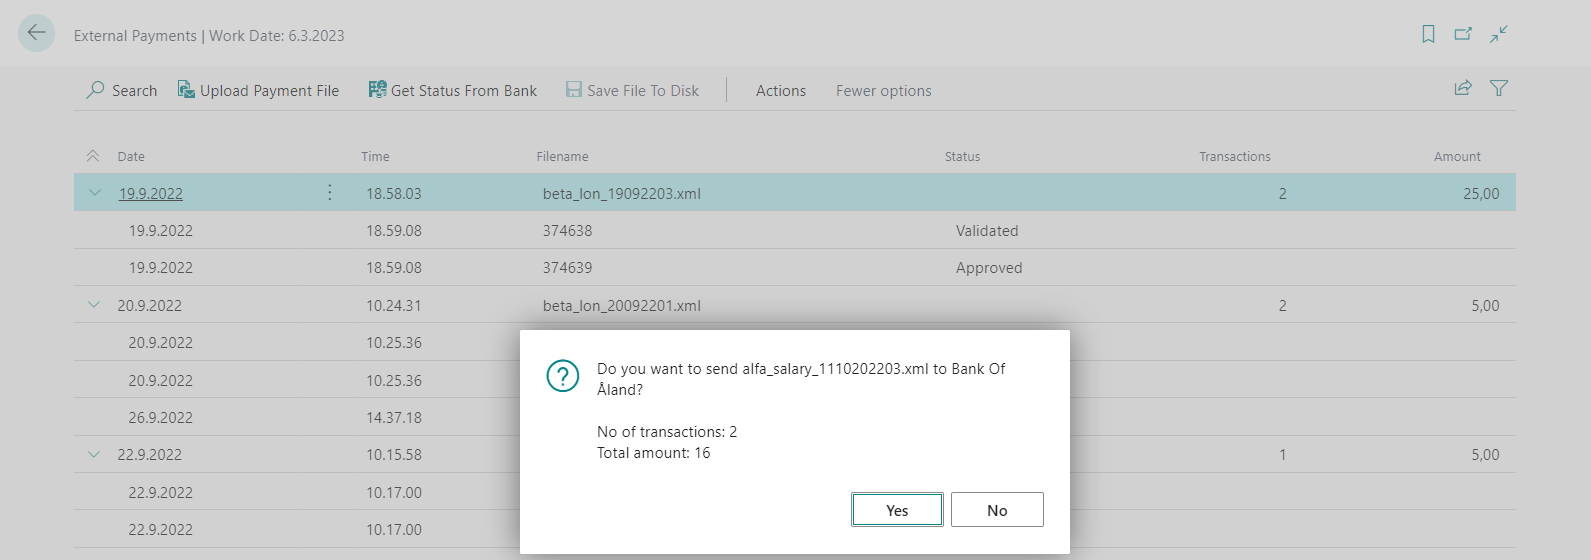
After a payment file has been selected, information about the bank, the name of the file, the number of transactions and the total amount in the file is displayed. Click Yes to send the payment file to the bank.
Retrieval of payment status reports
When a payment file is sent to the bank from the External Payments page the payment status reports are automatically retrieved from the bank after 60 seconds. The status reports are displayed in the list below the payment file.
To handle the payment status report for example in the external application where the payment file was created, select the file and click Save to disk. The status report is then downloaded locally and can be imported into the external application, if needed.
Note. Bank Pro automatically retrieves payment status reports from all banks for which the service is activated. The status of a payment file in the Payments (list) page may therefore have been updated. Accordingly, we recommend to check if the status has changed for the payment files displayed on the Payments list page.
Upload File
Sending of external files
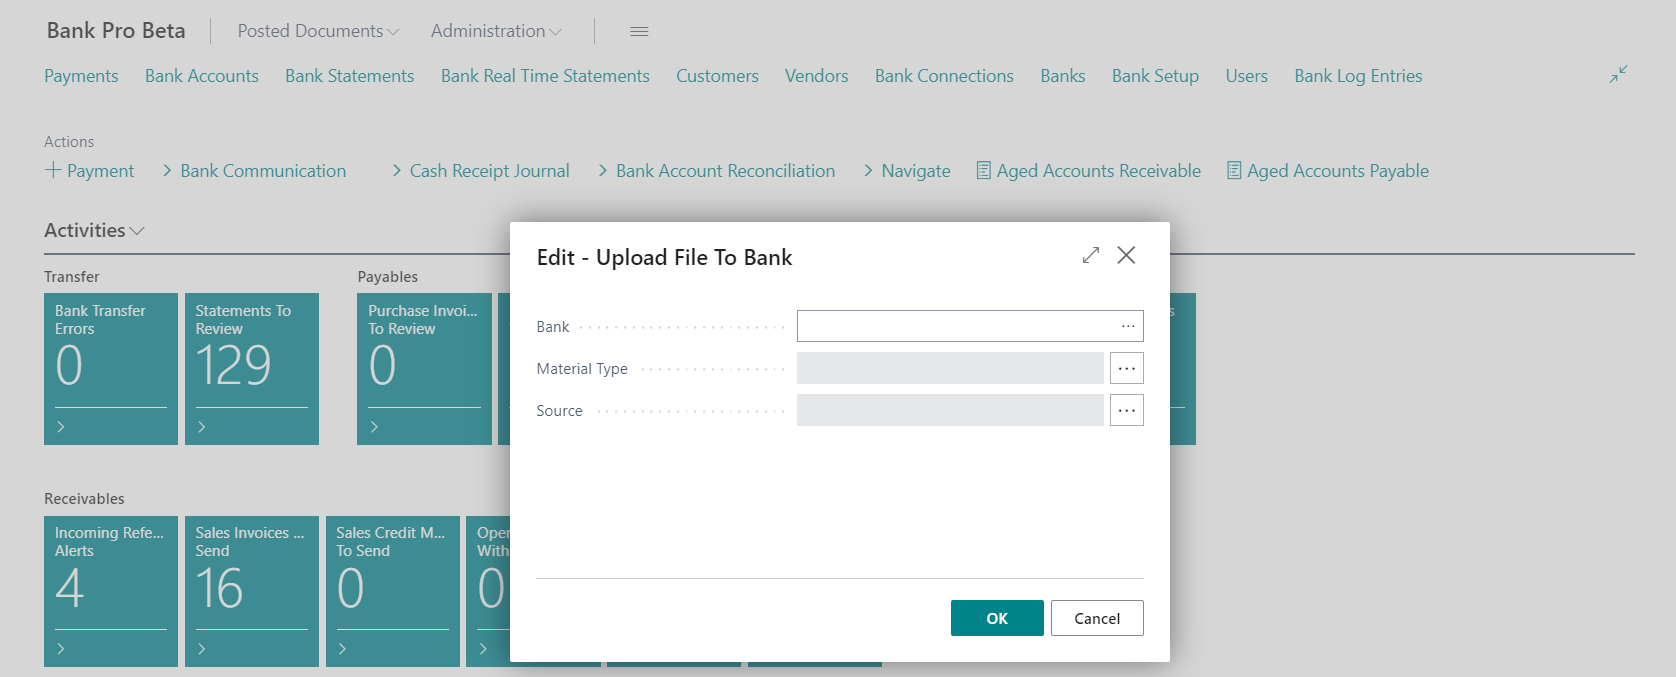
To send an external file to the bank, select Upload File from Bank Communication menu.
Select Bank to connect to, Material type that you want to send and choose file to send to the bank. Click OK to send the file to the bank.
Note. Material types vary depending on the bank.
Good to know. If you send a payment file to the bank via the Upload File function and want to retrieve the payment status reports, the status reports must be retrieved separately via the Download File function. Sent files can be found in the Bank Log Entries.
Download File
To download a file, select Download File from the Bank Communication menu.
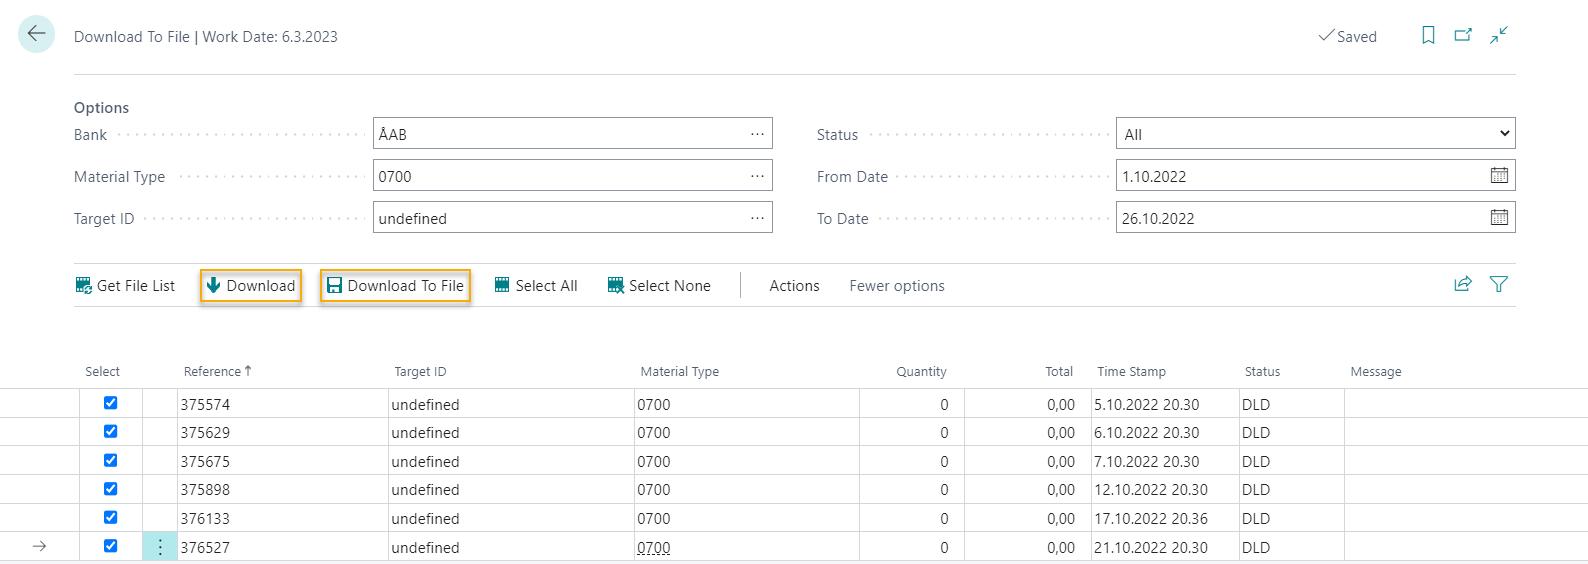
Select Bank to connect to, Material Type that you want to retrieve, choose Status and From Date and To Date. Click Get File List to retrieve a list of materials that meet the criteria specified.
Good to know. Status (New, Downloaded or All) refers to the status of the material (file) in the bank. If a material has never been downloaded before, its status is likely to be new. If you don´t know if the material has been retrieved earlier, the status All can be selected.
Note. Material types vary depending on the bank.
If there are materials (files) that meet the criteria, they are listed on the page. If there are no materials in the bank that meet the criteria, no materials will be displayed.
Select the materials (files) that you want to download by checking the checkbox(es) and click Download to download the materials into Bank Pro. Click Download to File if you want to download the files locally, for example in cases where the material is to be managed in an external application.
Note. Retrieving materials directly to Bank Pro requires that Bank Pro supports the material type in question). Information on supported material types can be found on page Material Types.
Important to keep in mind. When materials (files) are retrieved via the Download File function and they are downloaded to Bank Pro, there´s a risk that the materials are processed twice, for example incoming references. We recommend that incoming reference payments and bank statements are primarily retrieved from the dedicated pages (Cash Receipt Journal and Bank Statements).
